First function
Navigate to the directory where you cloned the repository and activate the virtual environment:
{
    source venv/bin/activate
    cd savealife
    set -a
    source .env
    set +a
}
The workshop assumes you cloned the repository to your home folder.
With the above commands executed, we are ready to create our first function and explore what AWS Lambda is and how it works.
Open ~/serverless_workshop/savealife/app.py and copy/paste the following contents:
from os import getenv
from chalice import Chalice

try:
    from dotenv import load_dotenv

    load_dotenv()
except ImportError:
    pass

first_name = getenv("WORKSHOP_NAME", "ivica")  # replace with your own name of course

app = Chalice(app_name=f"{first_name}-savealife")


@app.route("/")
def index():
    return {"hello": "world"}
Looks almost like a simple Flask application, doesn’t it? Let’s run the function and see it in action
Run the function locally
Chalice comes with a local server that you may use to develop and debug your functions.
While in ~/serverless_workshop/savealife/, run
chalice local --autoreload
in a terminal of your choice. --autoreload will automatically restart the local server when files change.
Output should be similar to:

Hitting that endpoint with an HTTP client of your choice produces the ubiquitous “hello world”
http :8000
Output should be similar to:
Change the return value in app.py and hit the endpoint a few times. Savour this moment if everything works for you
because chances are we will be breaking things later on :)
To make this a bit interesting we’ll run it on AWS.
Deploy the function to AWS
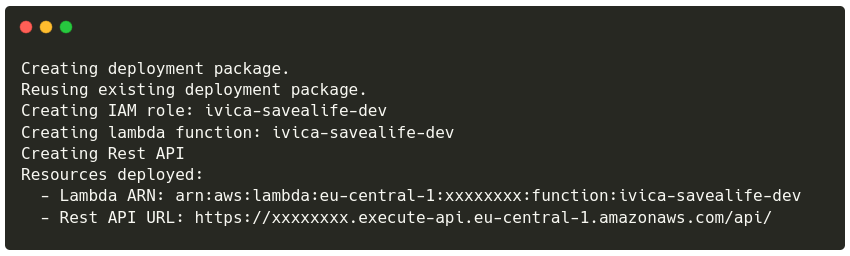
Being a developer friendly tool, Chalice can do the deployments right from your machine. Run chalice deploy:
chalice deploy
If you configured everything correctly in the “Prerequisites” phase, your screen will be filled with goodness similar
to this:
If you are on a slow connection and chalice deploy times out, you can append --connection-timeout SECONDS so
that the timeout is increased. For example chalice deploy --connection-timeout 600 will set the timeout to 10
minutes
What happened just now?!
Well, you shipped your first serverless function that is fronted by an API Gateway to AWS. What Chalice did was:
- Installed any requirements from the
requirements.txt - Zipped
app.pyand those installed requirements - Created an IAM role to grant permissions to our function
- Created the function with the code from
app.py - Created an API Gateway
- Connected the API Gateway to proxy requests to our Lambda function
Invoke the function
Again, with your favourite HTTP client hit the endpoint that Chalice printed. Not sure what it printed? You can always
get the URL of your API Gateway with chalice url
chalice url
Output should be similar to:

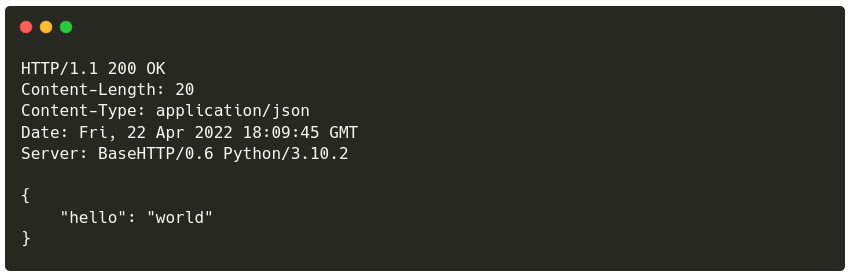
Sending a GET request to that endpoint
http -b $(chalice url)
produces output similar to:

Feel free to change the app.py and deploy again. The URL of the API Gateway will stay the same so you can just
invoke it again to see your changes:
http -b $(chalice url)
Output should be similar to:

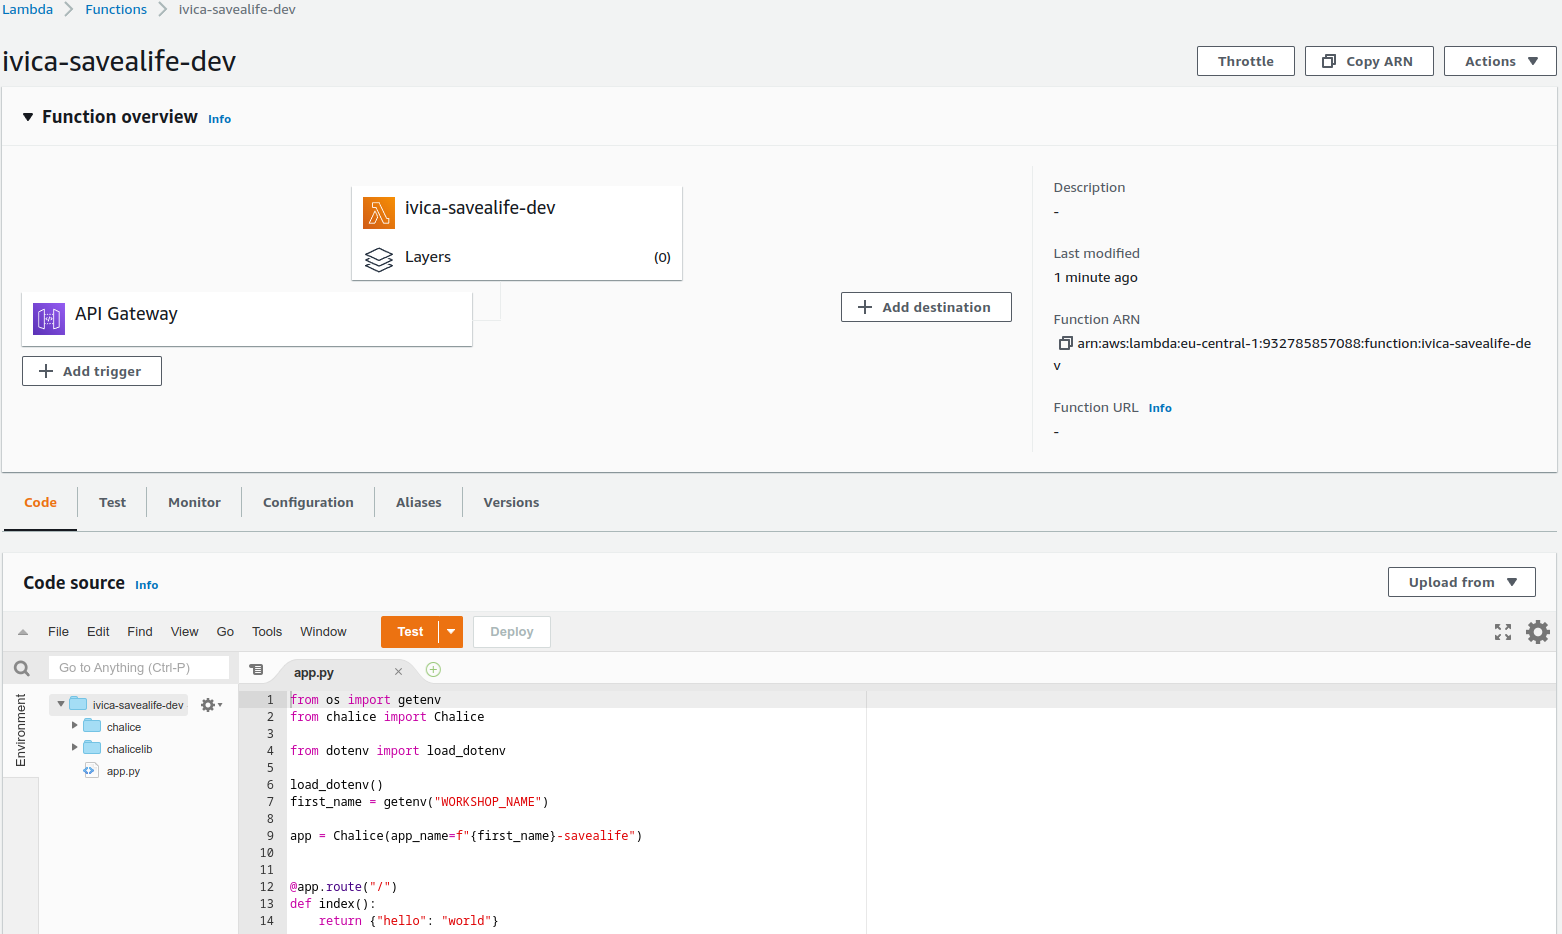
Let’s jump into the AWS console (login details provided to you) and navigate to Lambda functions.
You will notice a function there called YOUR_FIRST_NAME-savealife-dev. Open it by
clicking on it’s name and let’s explore a bit.
Let’s have a look on the “Test”, “Monitor” and “Configuration” tabs.
Congrats! You’ve successfully executed your first piece of Python code serverless-ly. On the next page we’ll discuss a bit more on Lambda functions now that you’ve met one of them.