Lambda layers
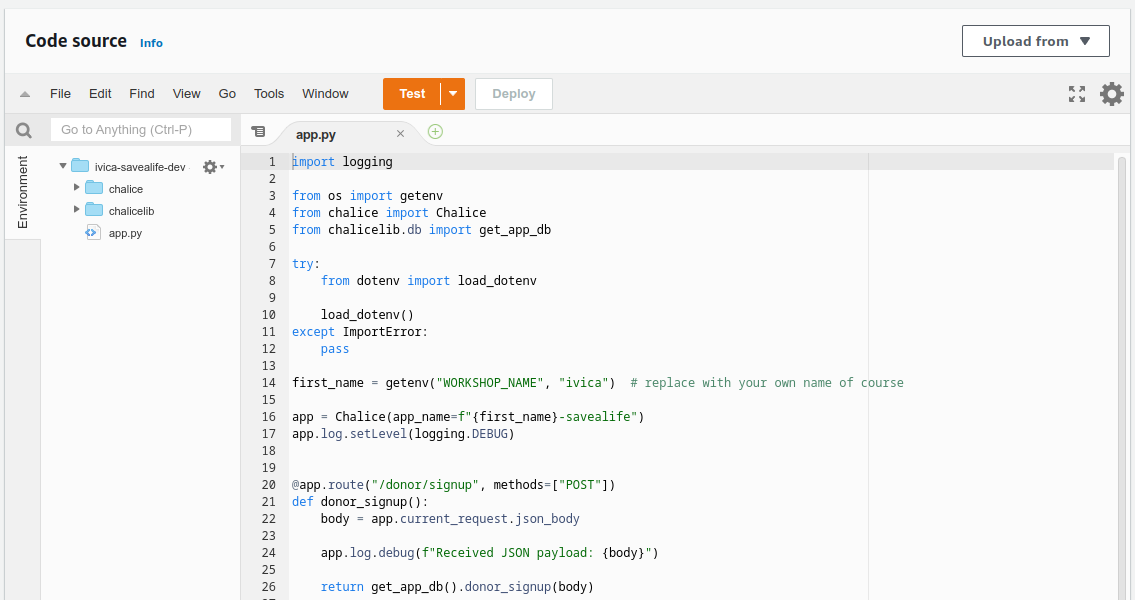
If you were to open the Lambda function named YOUR_NAME_HERE-savealife-dev to see how
it looks like “from the inside” you would be slightly disappointed by the following
message:

This is understandable because the package size is roughly 9.4MB which may be difficult to load and show in a code editor in a browser.
Luckily, we can do something about this; we can create our Lambda functions with layers.
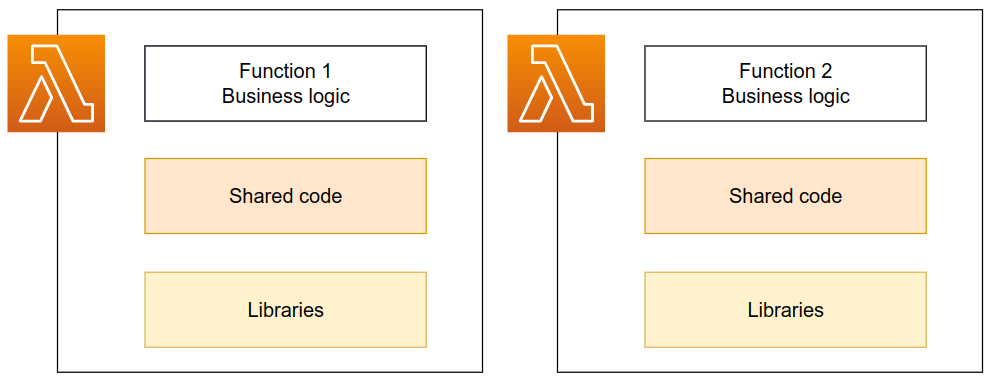
Typically, a single Lambda function will contain your business logic code. It may
contain some shared code (as is the case with our chalicelib folder) and it may
also contain some external dependencies, such as database drivers, SDKs etc. Sometimes
these dependencies are quite big (on a Lambda function scale), with pandas being
38.5MB alone. This is very close to the 50MB package limit for direct uploads (such
as the one chalice does).
Additionally, if your are a nitpicky person as I am, you will consider it a personal failure if your Lambda function is too big to be displayed in the AWS console.
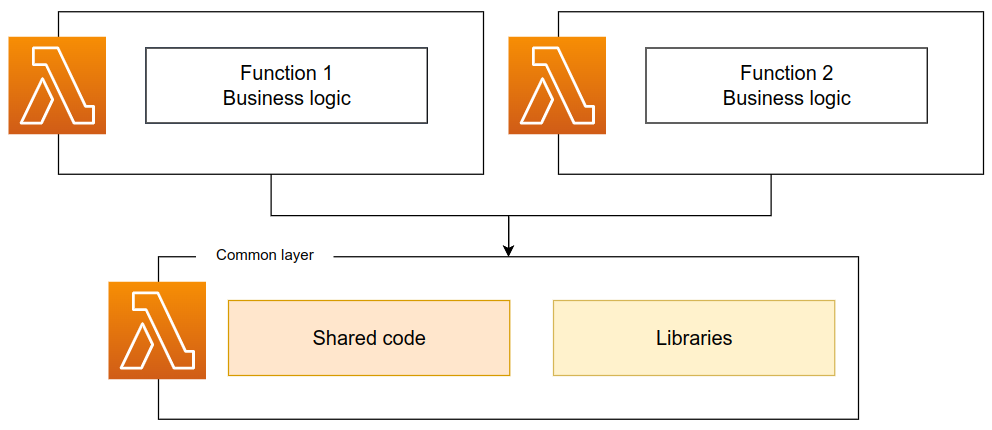
Layers
Layers are a convenient way to package and share libraries and other shared code between your Lambda functions. Since these libraries and shared code are usually the bulkiest, separating them in a layer makes code deployments faster.
Instead of downloading, packaging and uploading all the code for every deployment, code that goes into a layer is typically downloaded, packaged and uploaded only when updating library versions in the layer, or when creating the layer initially.
Under the hood, Lambda layers are a zipped archive of all the libraries (pandas,
requests and similar) and any shared code your functions need. Simple, right?
Creating layers manually
We won’t go through the process of creating a layer manually because chalice can
do that automatically for us, but I will use this to demonstrate how a layer looks like.
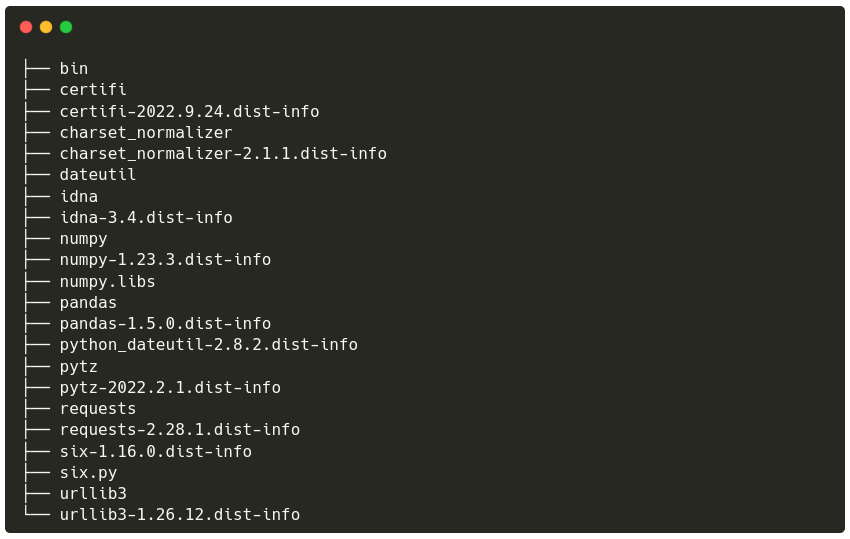
Preparing the layer code is as simple as
pip install library1 library2 --target my_layer
Doing pip install requests pandas --target my_layer/ produces a familiar directory
structure. That’s how a layer looks like before zipping it into an archive.
Creating layers with Chalice
Creating layers with Chalice is much less involved than doing it manually. As you
may have guessed, the .chalice/config.json is the place to go to to enable layers
support.
Open the file and add the highlighted line to it:
{
  "version": "2.0",
  "app_name": "YOUR_NAME_HERE-savealife",
  "automatic_layer": true,
  "stages": {
    "dev": {
      "api_gateway_stage": "api",
      "autogen_policy": false,
      "environment_variables": {
        "TABLE_NAME": "YOUR_NAME_HERE-savealife-dev"
      }
    }
  }
}
Deploy the function now and observe how the output changes slightly; we can see that the layer is now being created:
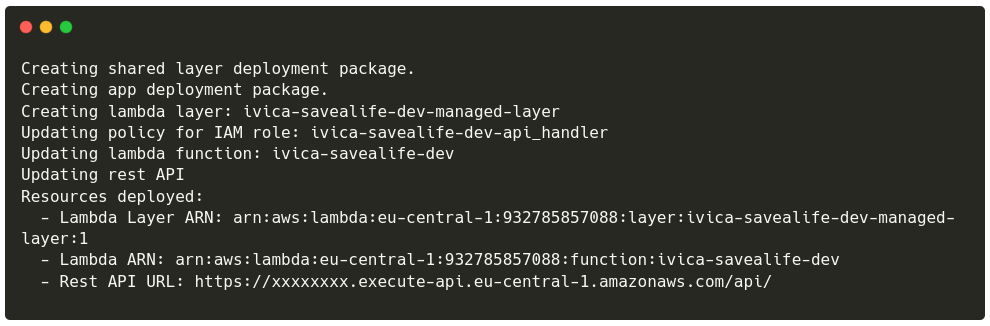
The created layer will contain any library listed in the requirements.txt file. It
is approximately 9.4MB in size. And how does our Lambda function look like now?
B-E-autiful!